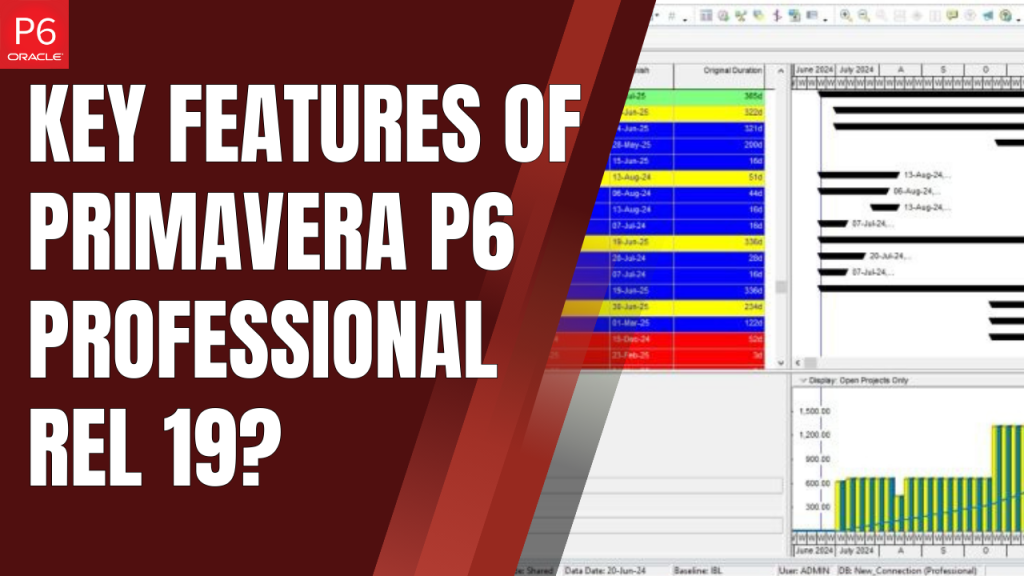
19 Jan Primavera P6 What Are The Key Features Of Primavera P6 Professional Rel 19? February 13, 2026 By Eng waqas Ahmad Continue reading
05 Jan News, Primavera P6 Can Fresher Civil Engineers Learn Primavera P6 Software? January 27, 2026 By Eng waqas Ahmad Continue reading
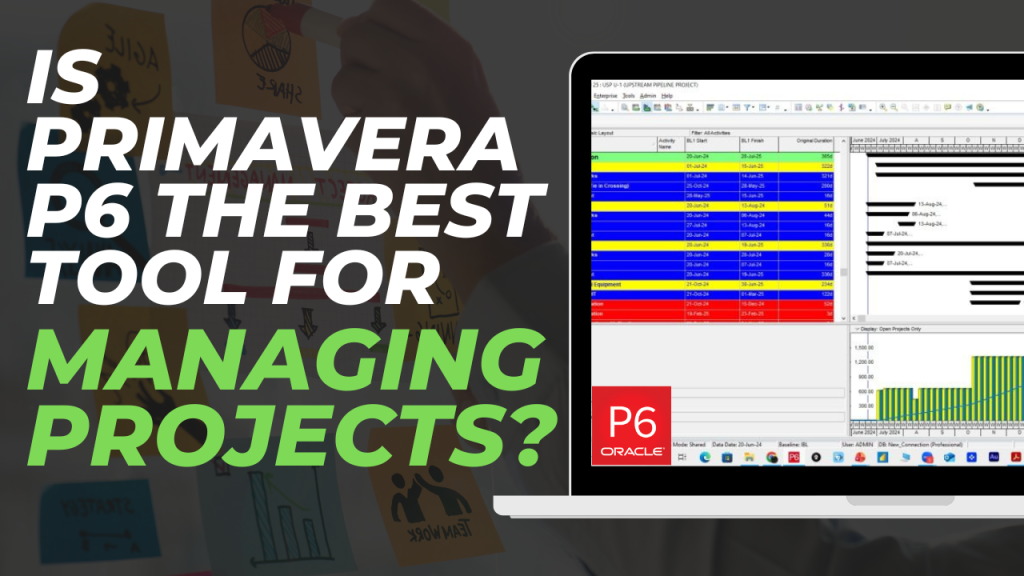
02 Jan Primavera P6 Is Primavera P6 the Best Tool for Managing Projects? January 19, 2026 By Eng waqas Ahmad Continue reading
26 Dec Primavera P6 What are The Advantages of Activity Steps in Primavera P6? January 19, 2026 By Eng waqas Ahmad Continue reading
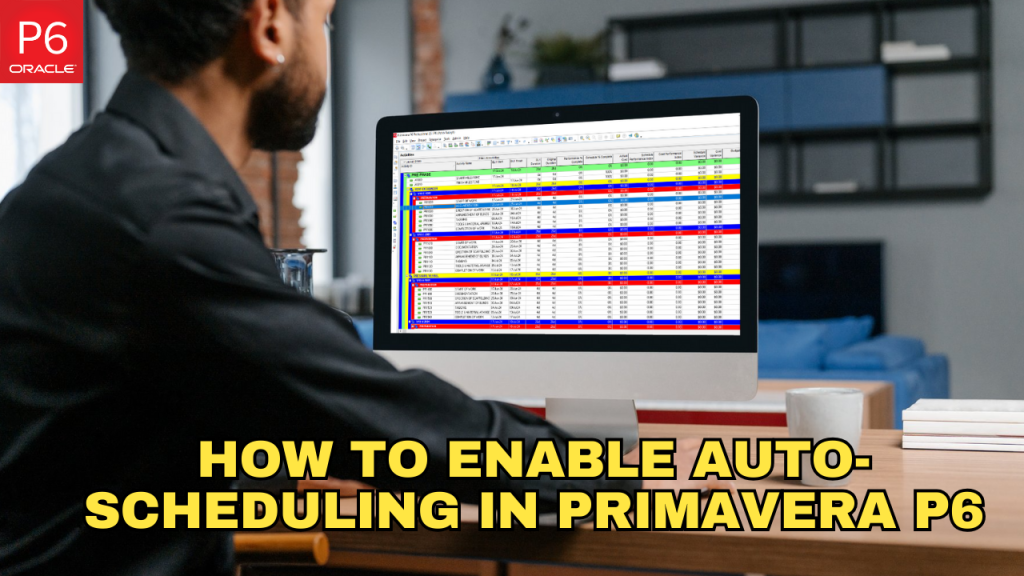
19 Dec EPC Planning, News, Primavera P6 6 Steps to Enable Auto-Scheduling in Primavera P6 January 19, 2026 By Eng waqas Ahmad Continue reading
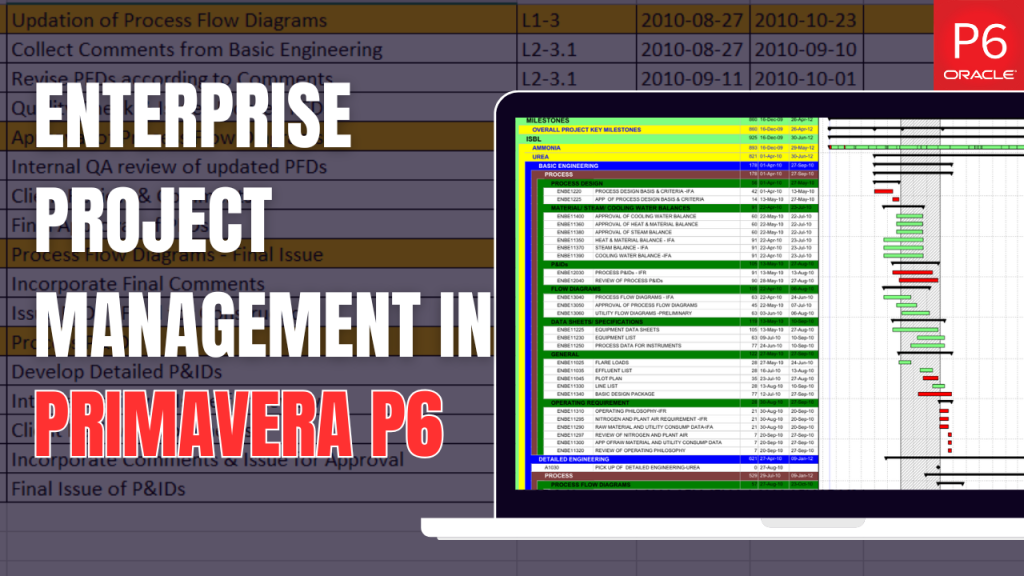
15 Dec News, Primavera P6 How Does Primavera P6 Support Enterprise Project Management? January 19, 2026 By Eng waqas Ahmad Continue reading
12 Dec Primavera P6 How to Create a Work Breakdown Structure in Primavera P6? January 19, 2026 By Eng waqas Ahmad Continue reading
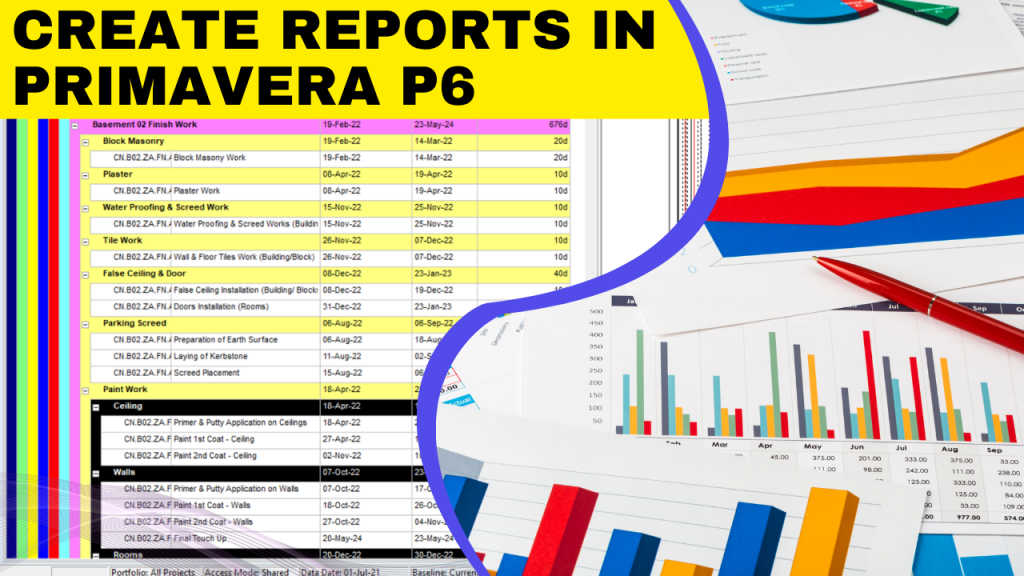
10 Nov Primavera P6 How to Create Reports in Primavera P6 Professional? January 19, 2026 By Eng waqas Ahmad Continue reading
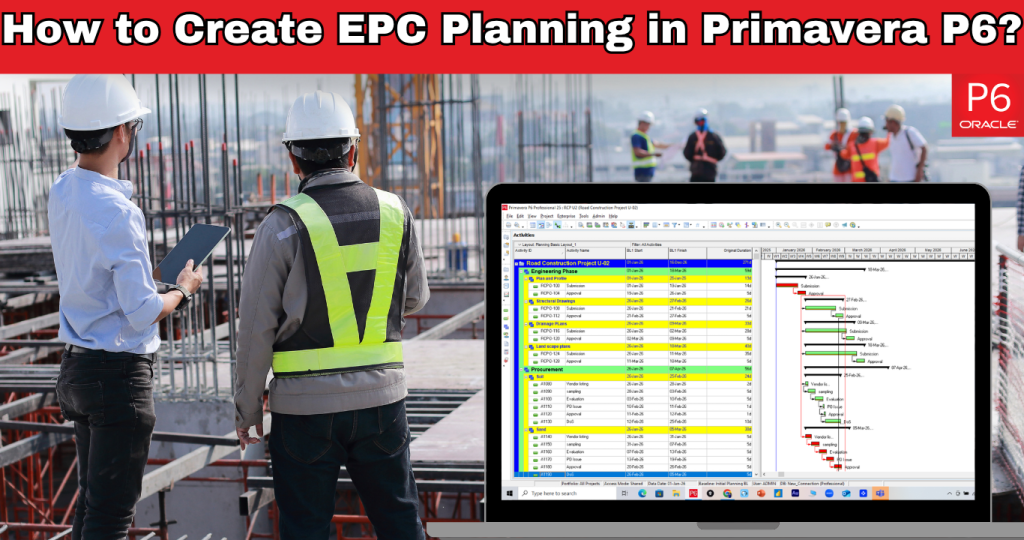
01 Nov EPC Planning, Primavera P6 How to Create EPC Planning in Primavera P6? January 19, 2026 By Eng waqas Ahmad Continue reading
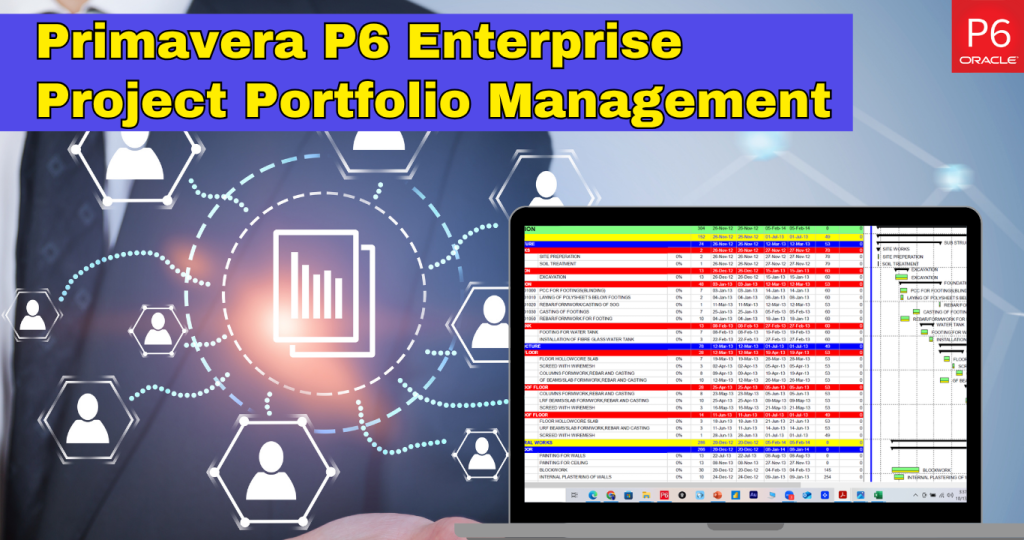
30 Oct Delay Analysis, EPC Planning, Primavera P6, Shutdown Management How to Use Primavera P6 Enterprise Project Portfolio Management for Effective Scheduling? January 19, 2026 By Eng waqas Ahmad Continue reading