Ever wonder why some projects stay precisely on track while others struggle despite having similar tools, teams, and timelines? The key difference lies in how well the project is structured from the start, particularly through the Work Breakdown Structure (WBS) in Primavera P6. When developed correctly, a WBS does more than organize tasks; it improves the way you plan, manage, and deliver outcomes.
In this guide, we’ll walk you through creating an effective WBS in Primavera P6 that will help you establish a stronger structure for every project.
Steps to Create a Work Breakdown Structure (WBS) in Primavera P6
Here’s a step-by-step process of building a clear and organized WBS for your next project:
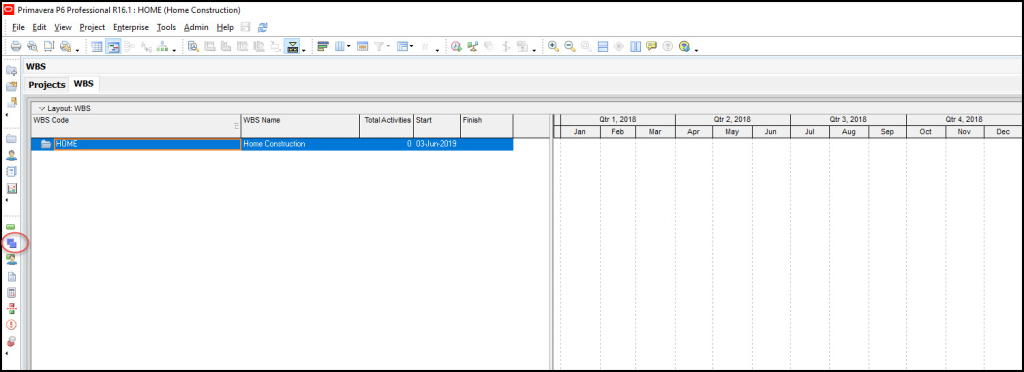
1. Open the WBS Tab
With your project selected, click the WBS icon in the Project Tools group. This action opens the dedicated WBS tab where all structure-building tasks begin.
Source: https://tensix.com/creating-a-work-breakdown-structure-in-primavera-p6/
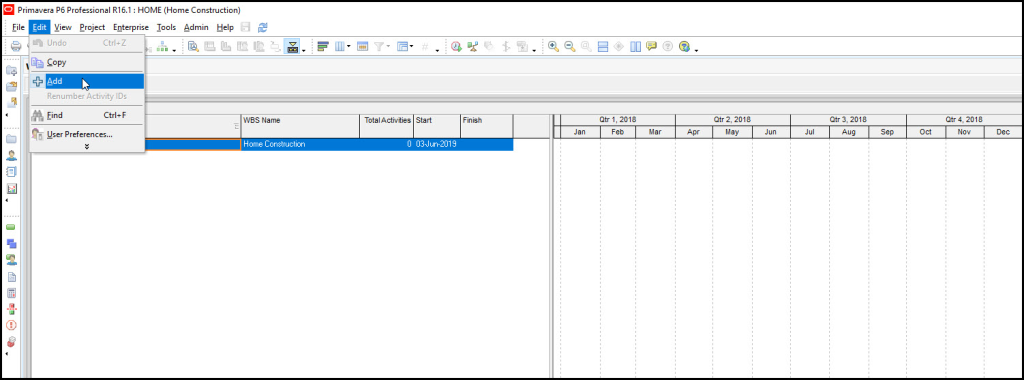
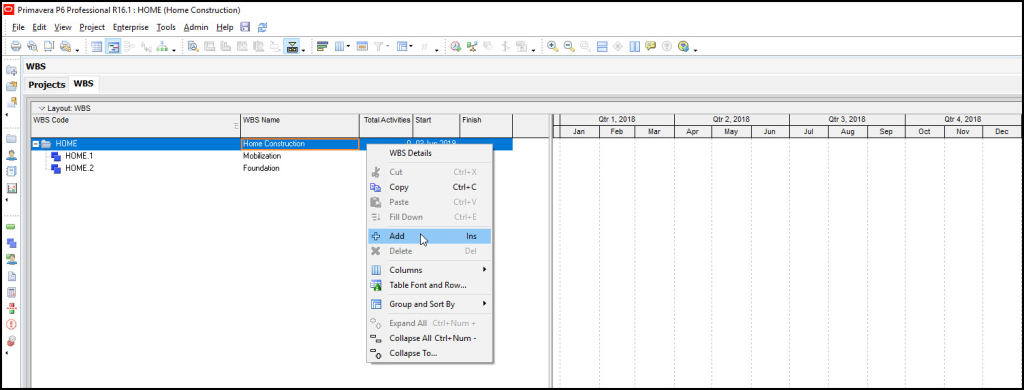
2. Add the First WBS Element
Go to Edit | + Add to insert your first WBS element. This creates a child element under the Home Construction project. Rename it to Mobilization.
Source: https://tensix.com/creating-a-work-breakdown-structure-in-primavera-p6/
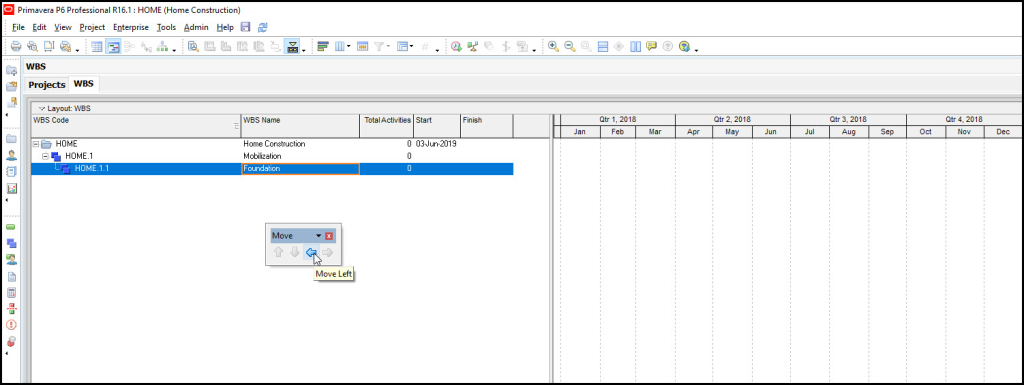
3. Insert Additional WBS Elements
With Mobilization highlighted, select Edit | + Add again to create another element. Rename it Foundation, then use the Move Left tool to shift it into the proper hierarchy as a sibling instead of a child.
Source: https://tensix.com/creating-a-work-breakdown-structure-in-primavera-p6/
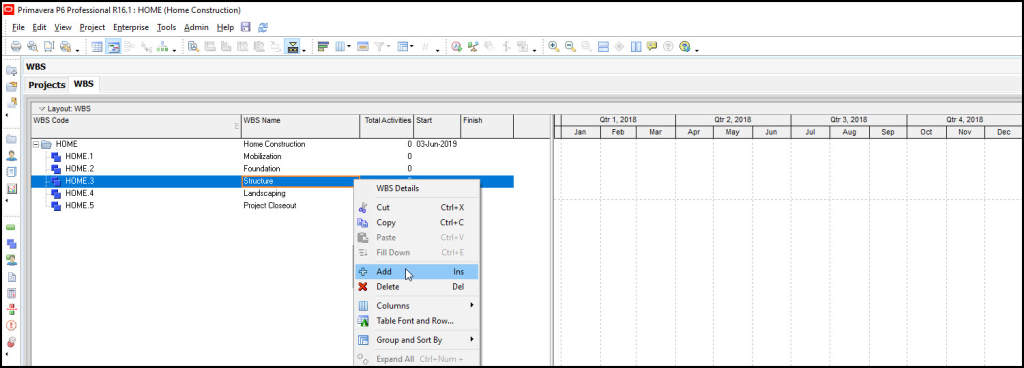
4. Create More Sibling WBS Elements
To add an element at the same level, highlight Home, choose Edit | + Add, and name the new item Structure. Reorder it using the move tools to ensure it appears correctly within the Level 2 structure.
Source: https://tensix.com/creating-a-work-breakdown-structure-in-primavera-p6/
5. Complete Level 2 of the WBS
Use the hierarchy adjustment tools to arrange Mobilization, Foundation, and Structure in the required order. This finalizes your Level 2 WBS layout.
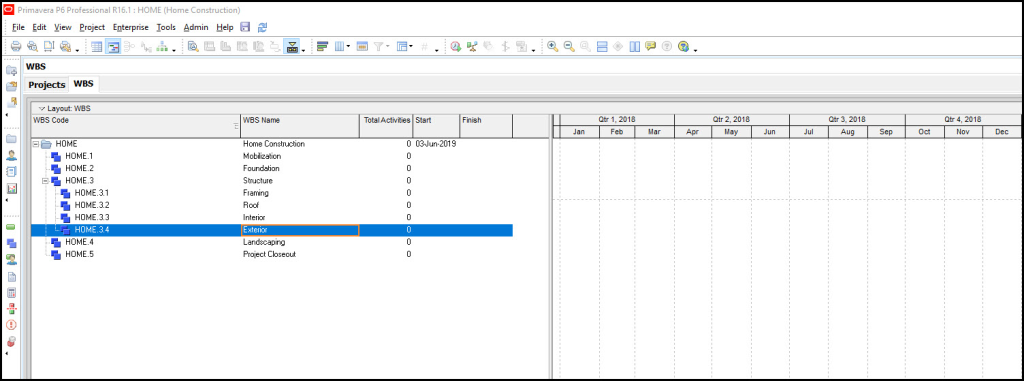
6. Add Child Elements Under Structure
Highlight Structure, then select Edit | + Add to begin entering all its child-level components. Continue adding items until the full Structure breakdown is complete.
7. Build Out the Remaining WBS Sections
Repeat the same process for the Interior and any additional major sections. By following a consistent approach, you can fully develop the Home Construction WBS.
8. Correct WBS Codes and Labels
If an item such as Décor appears with an incorrect number, manually edit the final segment of its WBS Code. Primavera will automatically update the entire code chain for accuracy.

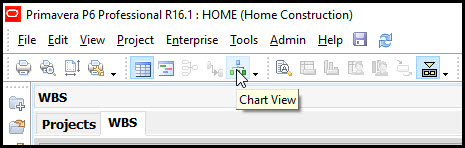
9. View the WBS in Chart Format
Click the Chart View icon to switch from the tabular layout to a visual diagram. This allows you to review the overall structure of your completed WBS.
Conclusion
Building a well-structured Work Breakdown Structure (WBS) in Primavera P6 brings clarity, control, and consistency to any project. When your WBS is organized from the start, every phase, planning, scheduling, resource allocation, and execution flows more smoothly and predictably.
Throughout this guide, we have covered essential steps, including opening the WBS tab, adding and organizing elements, building hierarchy levels, refining codes, and reviewing the structure in chart format.
By implementing the techniques shared in this guide, you’ll be able to build WBS structures that reduce confusion, improve team coordination, and strengthen overall project control.
Want to Learn More About Scheduling!
Here’s our simple guide that will help you build construction scheduling with Primavera P6.