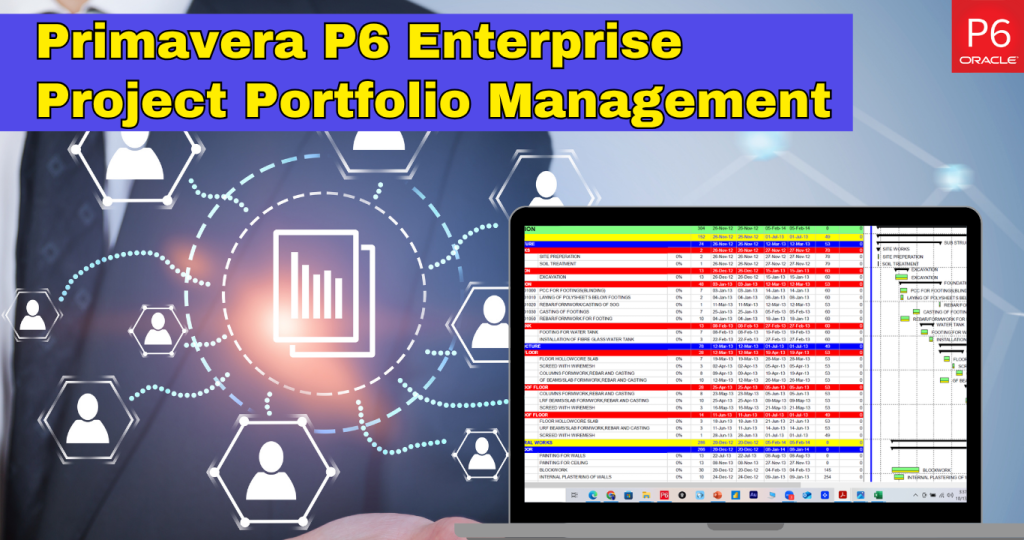
In today’s highly competitive construction, engineering, and IT industries, effective project planning and scheduling can make or break success. Primavera P6 Enterprise Project Portfolio Management (EPPM) is one of the most powerful tools for managing complex projects, ensuring timelines are met, and resources are efficiently allocated.
In this guide, we’ll discuss how to use Primavera P6 EPPM for effective scheduling from setup to advanced scheduling best practices.
What Is Primavera P6 EPPM?
Primavera P6 enterprise project portfolio management by Oracle is a comprehensive project planning and management software for handling large-scale, multifaceted projects. It helps project managers:
- Plan, schedule, and control project activities.
- Manage resources and costs efficiently.
- Track progress and forecast completion.
- Ensure alignment with organizational goals.
Unlike traditional scheduling tools, Primavera P6 project planning is ideal for teams that handle multiple projects, large workforces, and tight deadlines.
Step-by-Step Guide On Using Primavera P6 Enterprise Project Portfolio Management
Let’s discuss how to effectively use Primavera P6 enterprise project portfolio management for precise scheduling, efficient resource allocation, and strategic project planning:
Step 1: Setting Up Your Project in Primavera P6
Before discussing project planning in P6, you must configure your project correctly.
- Create a new project – Open Primavera P6 and create a new project under your EPS (Enterprise Project Structure).
- Define project details – Enter essential information like project ID, name, start date, and responsible manager.
- Set calendars – Define workdays, holidays, and shift timings using project or global calendars.
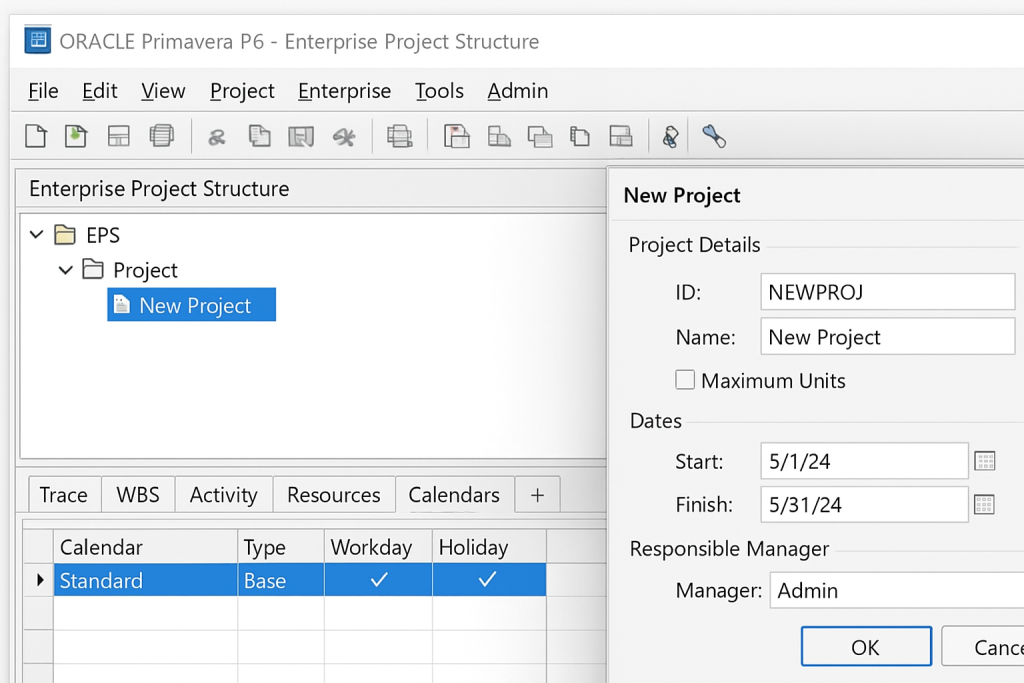
A well-configured setup ensures accurate scheduling and avoids resource conflicts later.
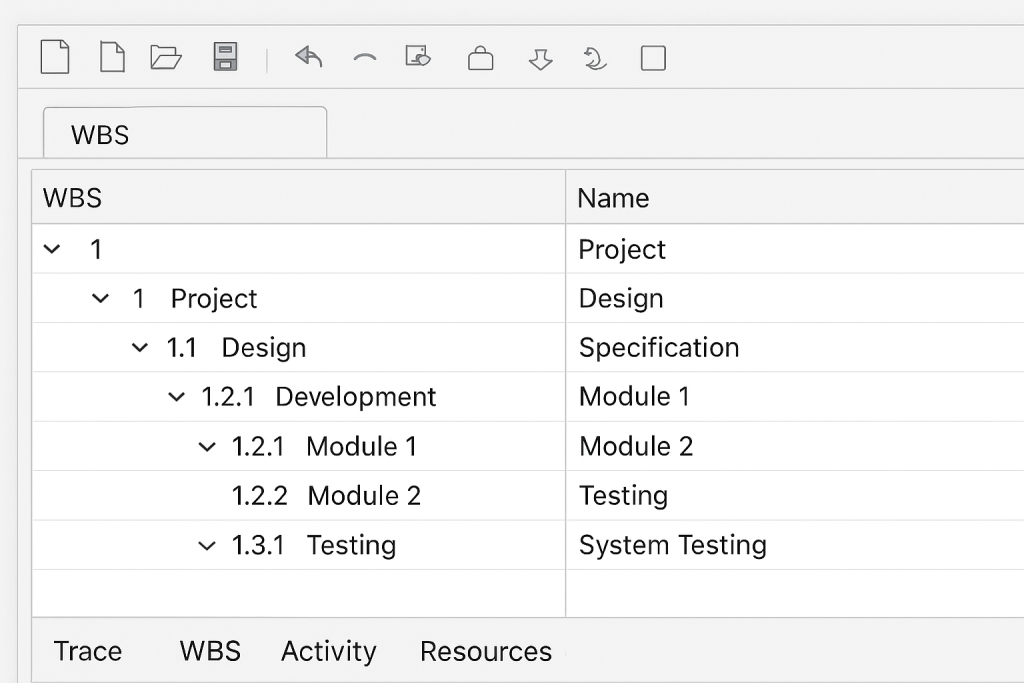
Step 2: Build the Work Breakdown Structure (WBS)
A Work Breakdown Structure (WBS) is the foundation of your Primavera P6 project planning process. It breaks your project into manageable sections.
- Go to the WBS tab and start defining major deliverables.
- Create sub-levels for detailed tasks.
- Assign codes to keep your structure organized.
This step helps visualize the project’s scope and hierarchy before adding specific activities.
Step 3: Define and Link Activities
Now add your tasks or “activities” into the WBS.
- Open the Activities tab and insert tasks under each WBS element.
- Define key details like duration, type (Task Dependent or Resource Dependent), and constraints.
- Use the Relationships tab to link activities using logic ties (Finish-to-Start, Start-to-Start, etc.).
Creating logical relationships ensures that Primavera P6 can calculate accurate start and finish dates based on dependencies, which is a crucial part of effective project planning.
Step 4: Assign Resources and Costs
Once activities are in place, assign labor, equipment, and materials to each task.
- Go to the Resources tab and allocate roles or named resources.
- Use resource calendars to define their availability.
- Track costs and budgets for better financial control.
This step enhances project planning in P6, helping in resource leveling, preventing over allocation, and ensuring project feasibility.
Step 5: Schedule the Project
After entering activities and dependencies, it’s time to calculate the schedule.
- Click F9 (Schedule) or go to Tools → Schedule.
- Primavera P6 will compute start/finish dates and the Critical Path Method (CPM).
- Review the Gantt Chart to visualize your timeline.
Check for any negative float (delays) or unrealistic durations, indicating scheduling issues that need adjustment.
Step 6: Baseline and Track Progress
Once the initial plan is finalized, save a baseline to measure future performance.
- Go to Project → Maintain Baselines → Add New Baseline.
- Assign the baseline and start tracking actual progress.
- Update activity status regularly (Not Started, In Progress, Completed).
By comparing actual vs. planned progress, you can easily identify delays, performance gaps, and risks early, keeping your project planning data-driven and transparent.
Step 7: Analyze Reports and Dashboards
Primavera P6 EPPM provides built-in dashboards and analytical reports to keep stakeholders informed.
- Use activity and resource reports to monitor workload and performance.
- Leverage earned value analysis (EVA) for cost and schedule efficiency.
- Share interactive dashboards with executives or clients for transparency.
How to Implement Primavera P6 EPPM Scheduling Practices Effectively?
To make the most out of Primavera P6 EPPM, follow these expert tips for better project planning in P6:
- Keep your WBS clear and consistent.
- Avoid open-ended or dangling activities.
- Regularly update actual progress and resource data.
- Review the critical path after every schedule update.
- Use calendars strategically to reflect real working conditions.
Conclusion
Primavera P6 Enterprise Project Portfolio Management requires technical knowledge and strategic thinking. When set up correctly, it can help your team streamline project planning, reduce risks, and deliver projects on time. Whether you’re managing a single construction project or an enterprise-wide portfolio, Primavera P6 project planning ensures your schedule stays accurate, agile, and efficient.
